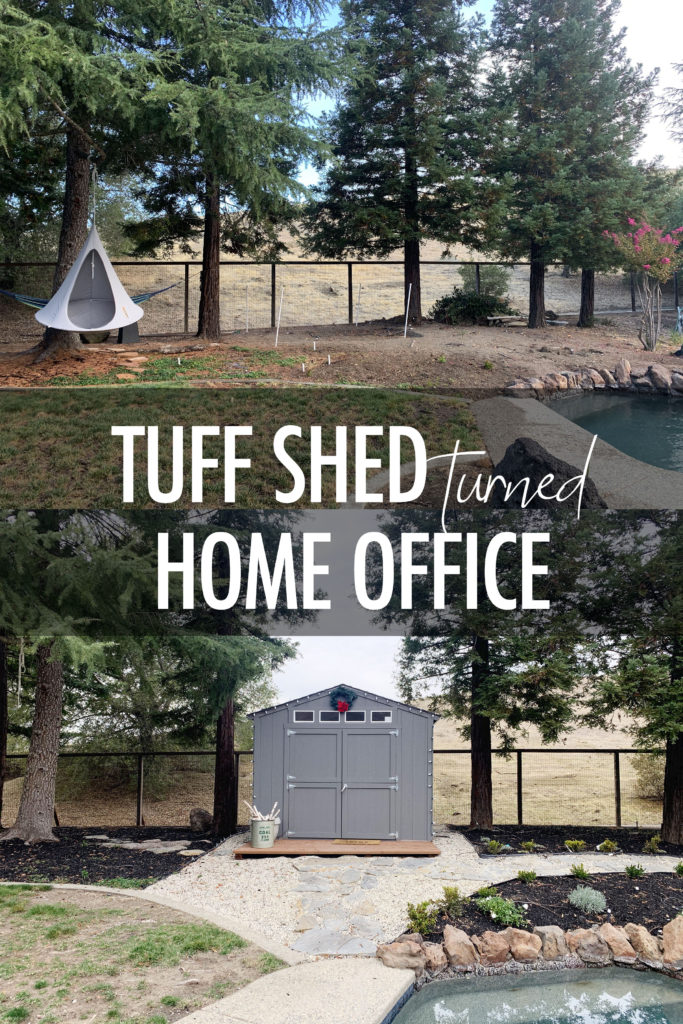
Welcome to our Tuff Shed turned home office! With the pandemic, we suddenly found we had a house full of people working from home. Our spaces felt tight and we were all looking for our own work spaces. I’ve always wanted to build an outdoor space to use as a guesthouse or a she-shed. Lucky for me, the pandemic suddenly bumped this project up to the top of our list. Not a guest house or a she-shed, we needed an office.
Shed INSPIRATION
I scoured the internet for inspiration. I really wanted a lean-to type of structure. But our house is pretty traditional and didn’t lend itself to a modern shed. That option was also wayyyy out of our budget. We were limited to a certain size too. A 10×10 structure is the largest structure you can have on your property without having to go through the hassle of getting permits and approval from our town. And our HOA. The more I searched, the more my searching led me back to a Tuff Shed. When I think of a Tuff Shed, I think of lawn mowers and gardening tools. With spider webs and gasoline smells. I had never considered that a Tuff Shed could be turned into an office. But I’m here to tell you that a Tuff Shed makes a perfect office, especially if you’re on a budget.
The Shed SITE
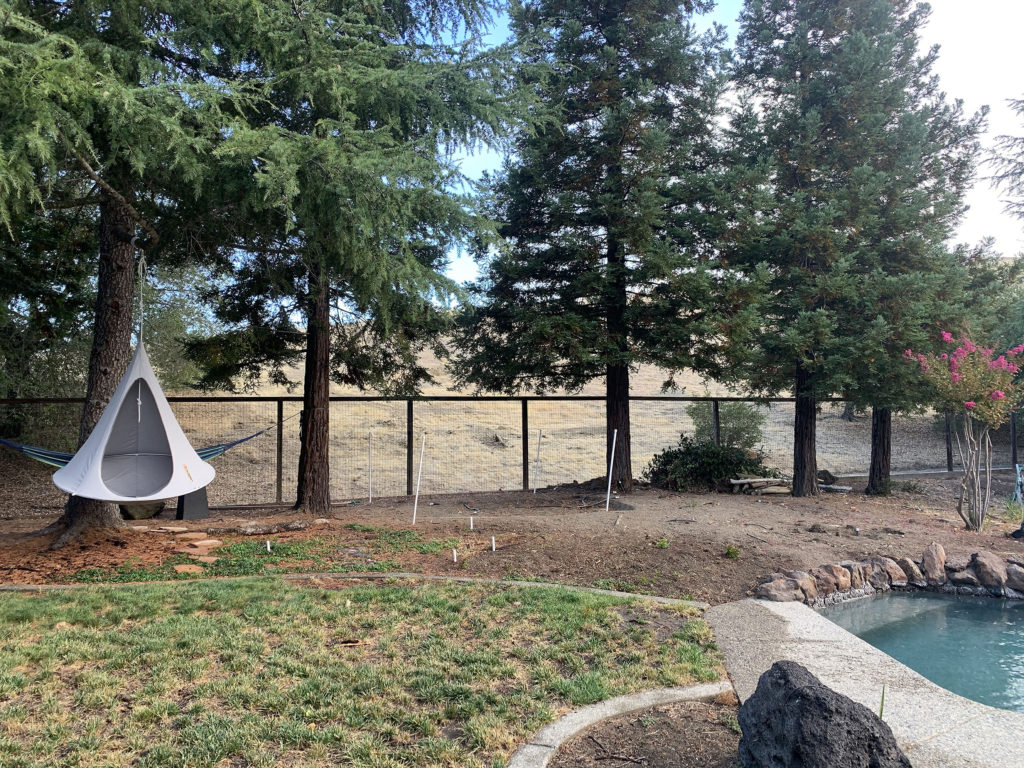
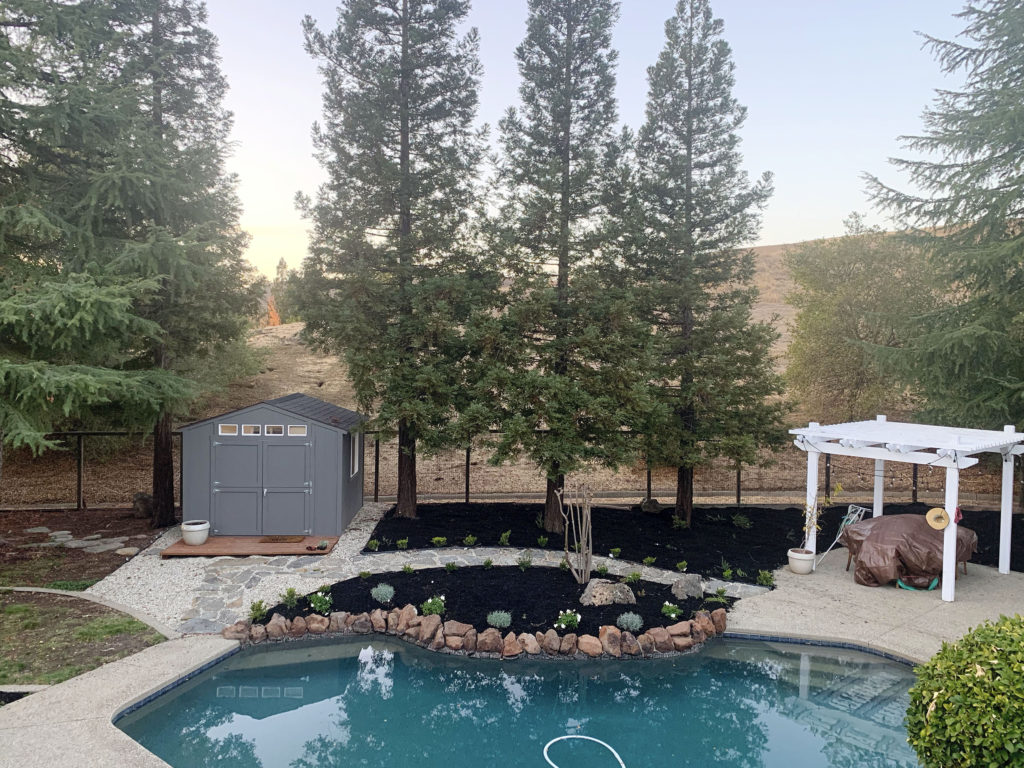
Here’s where we decided to place the shed in our yard. You can see it will fit perfectly between two of our towering redwood trees.
A Tuff Shed is Customizable
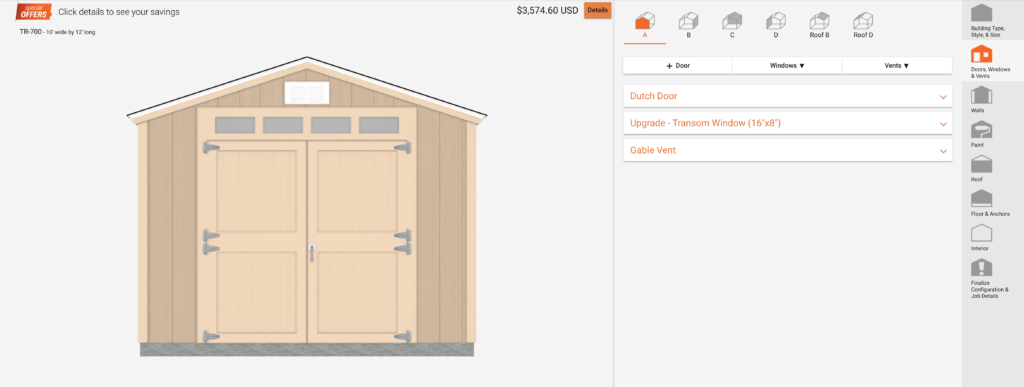
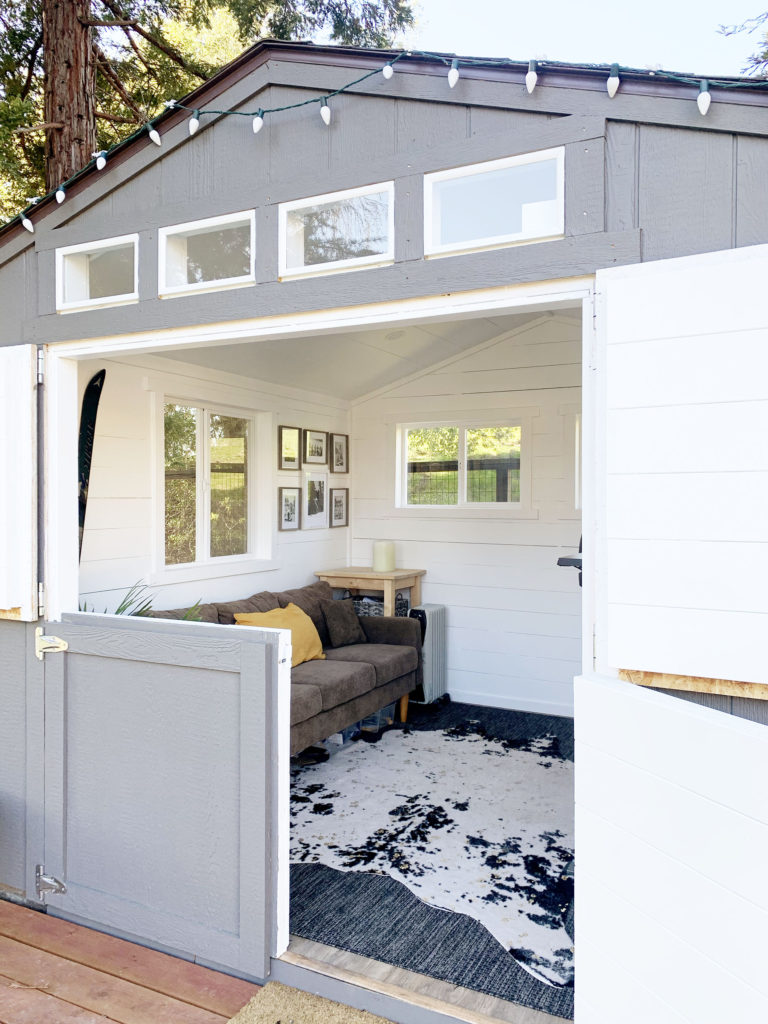
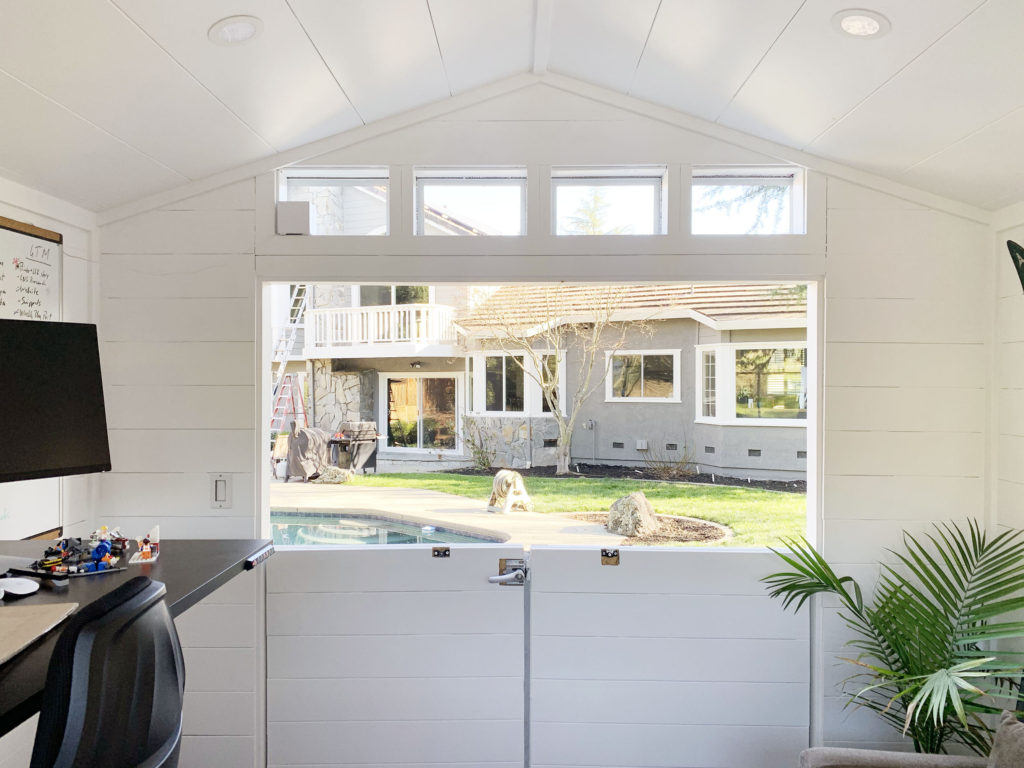
First of all, the entire process of ordering a Tuff Shed is easy. Tuff Shed has made choosing, ordering, and assembling a home office quick and easy. On their website, you’ll find many structures to choose from. You can customize the size of the structure, the door styles and numbers, the window sizes and placement, the roof styles, the roof covering, the ventilation options, and the paint finishes. We chose a 10×10 TR-700 style shed with double dutch doors, transom windows above the doors, two vertical windows on opposing side walls, and two horizontal windows along the back walls. To save money, we chose to have the shed unpainted since we knew we could do that ourselves. The same was true for the roofing and we opted to purchase the roofing materials ourselves.
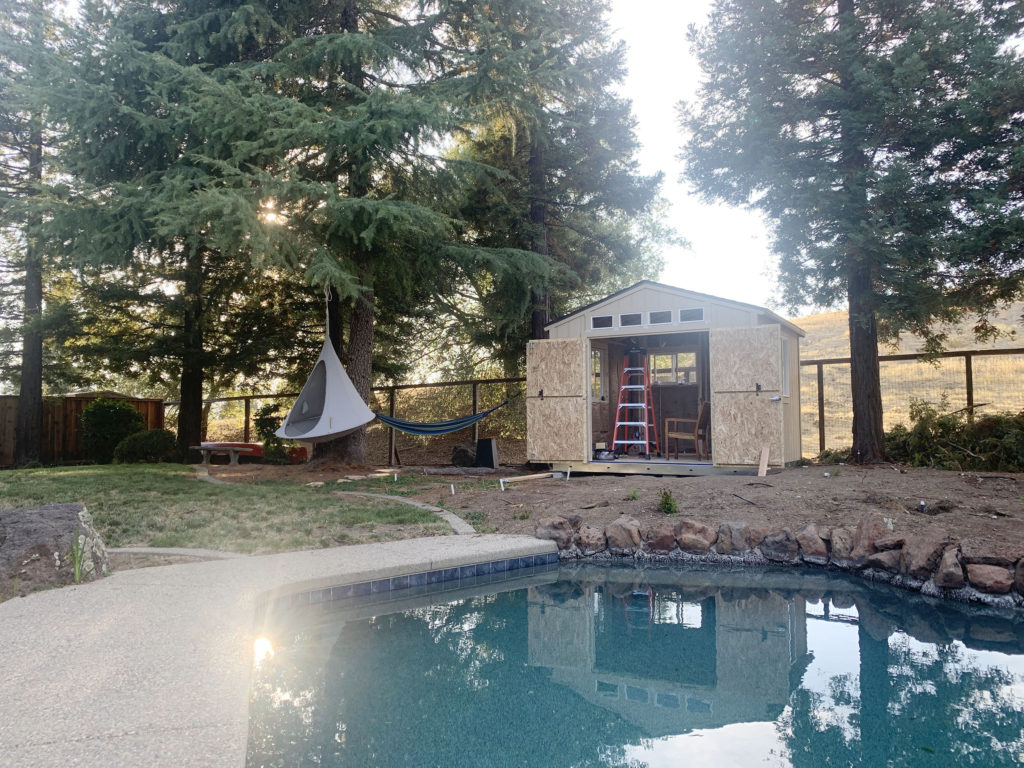
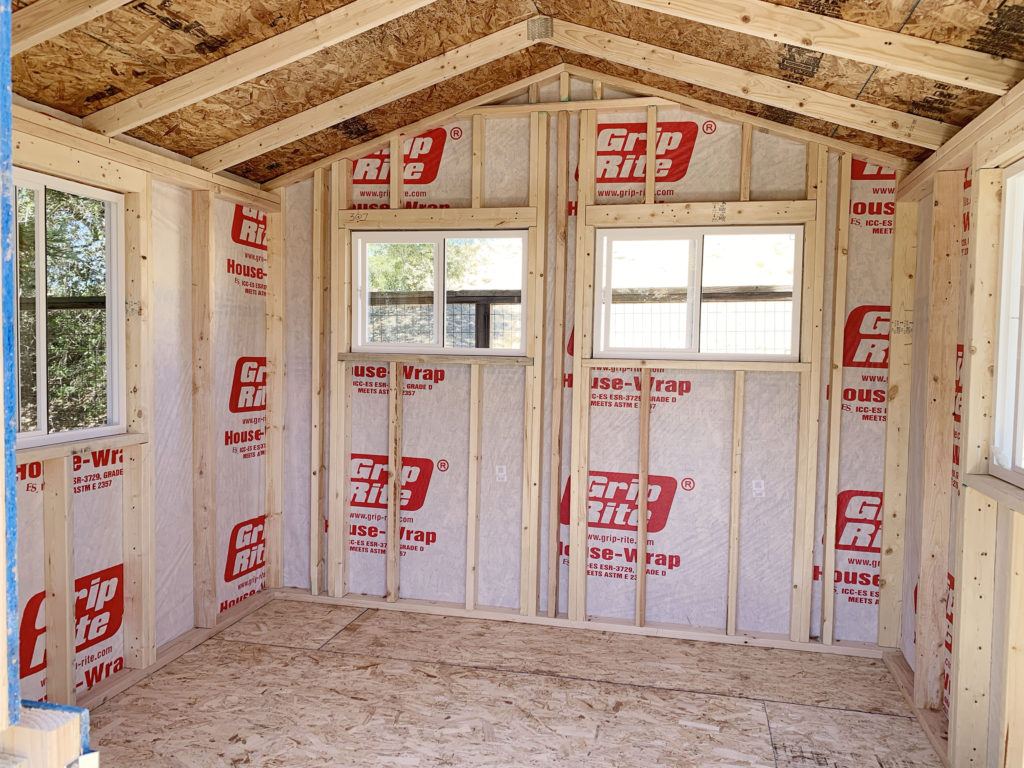
Once ordered, it took about 8 weeks to manufacture. In the meantime, our job was to level the site so that the shed would sit level on the lot. It would be installed on concrete blocks. Therefore, it’s officially a portable structure. On install day, our shed arrived in pieces along with two installers. Did I mention that Tuff Shed does all the installation for you?! It took them about 5 hours to assemble all the pieces along with the shingles on the roof. Here’s what it looked like when they left.
The FINISH Work
Over the next month, we got busy with the finish work. First of all, we knew the shed would need electricity. So my fabulous father-in-law spent an entire Saturday running electricity from our house to the shed. He installed can lights in the ceiling and outlets in the walls.
The interior comes unfinished and we knew we’d need to finish the walls. We considered dry wall but ultimately decided on shiplap since we have experience installing it and because I love the look of a clean white shiplap interior. Once installed, we painted everything Benjamin Moore Simply White.
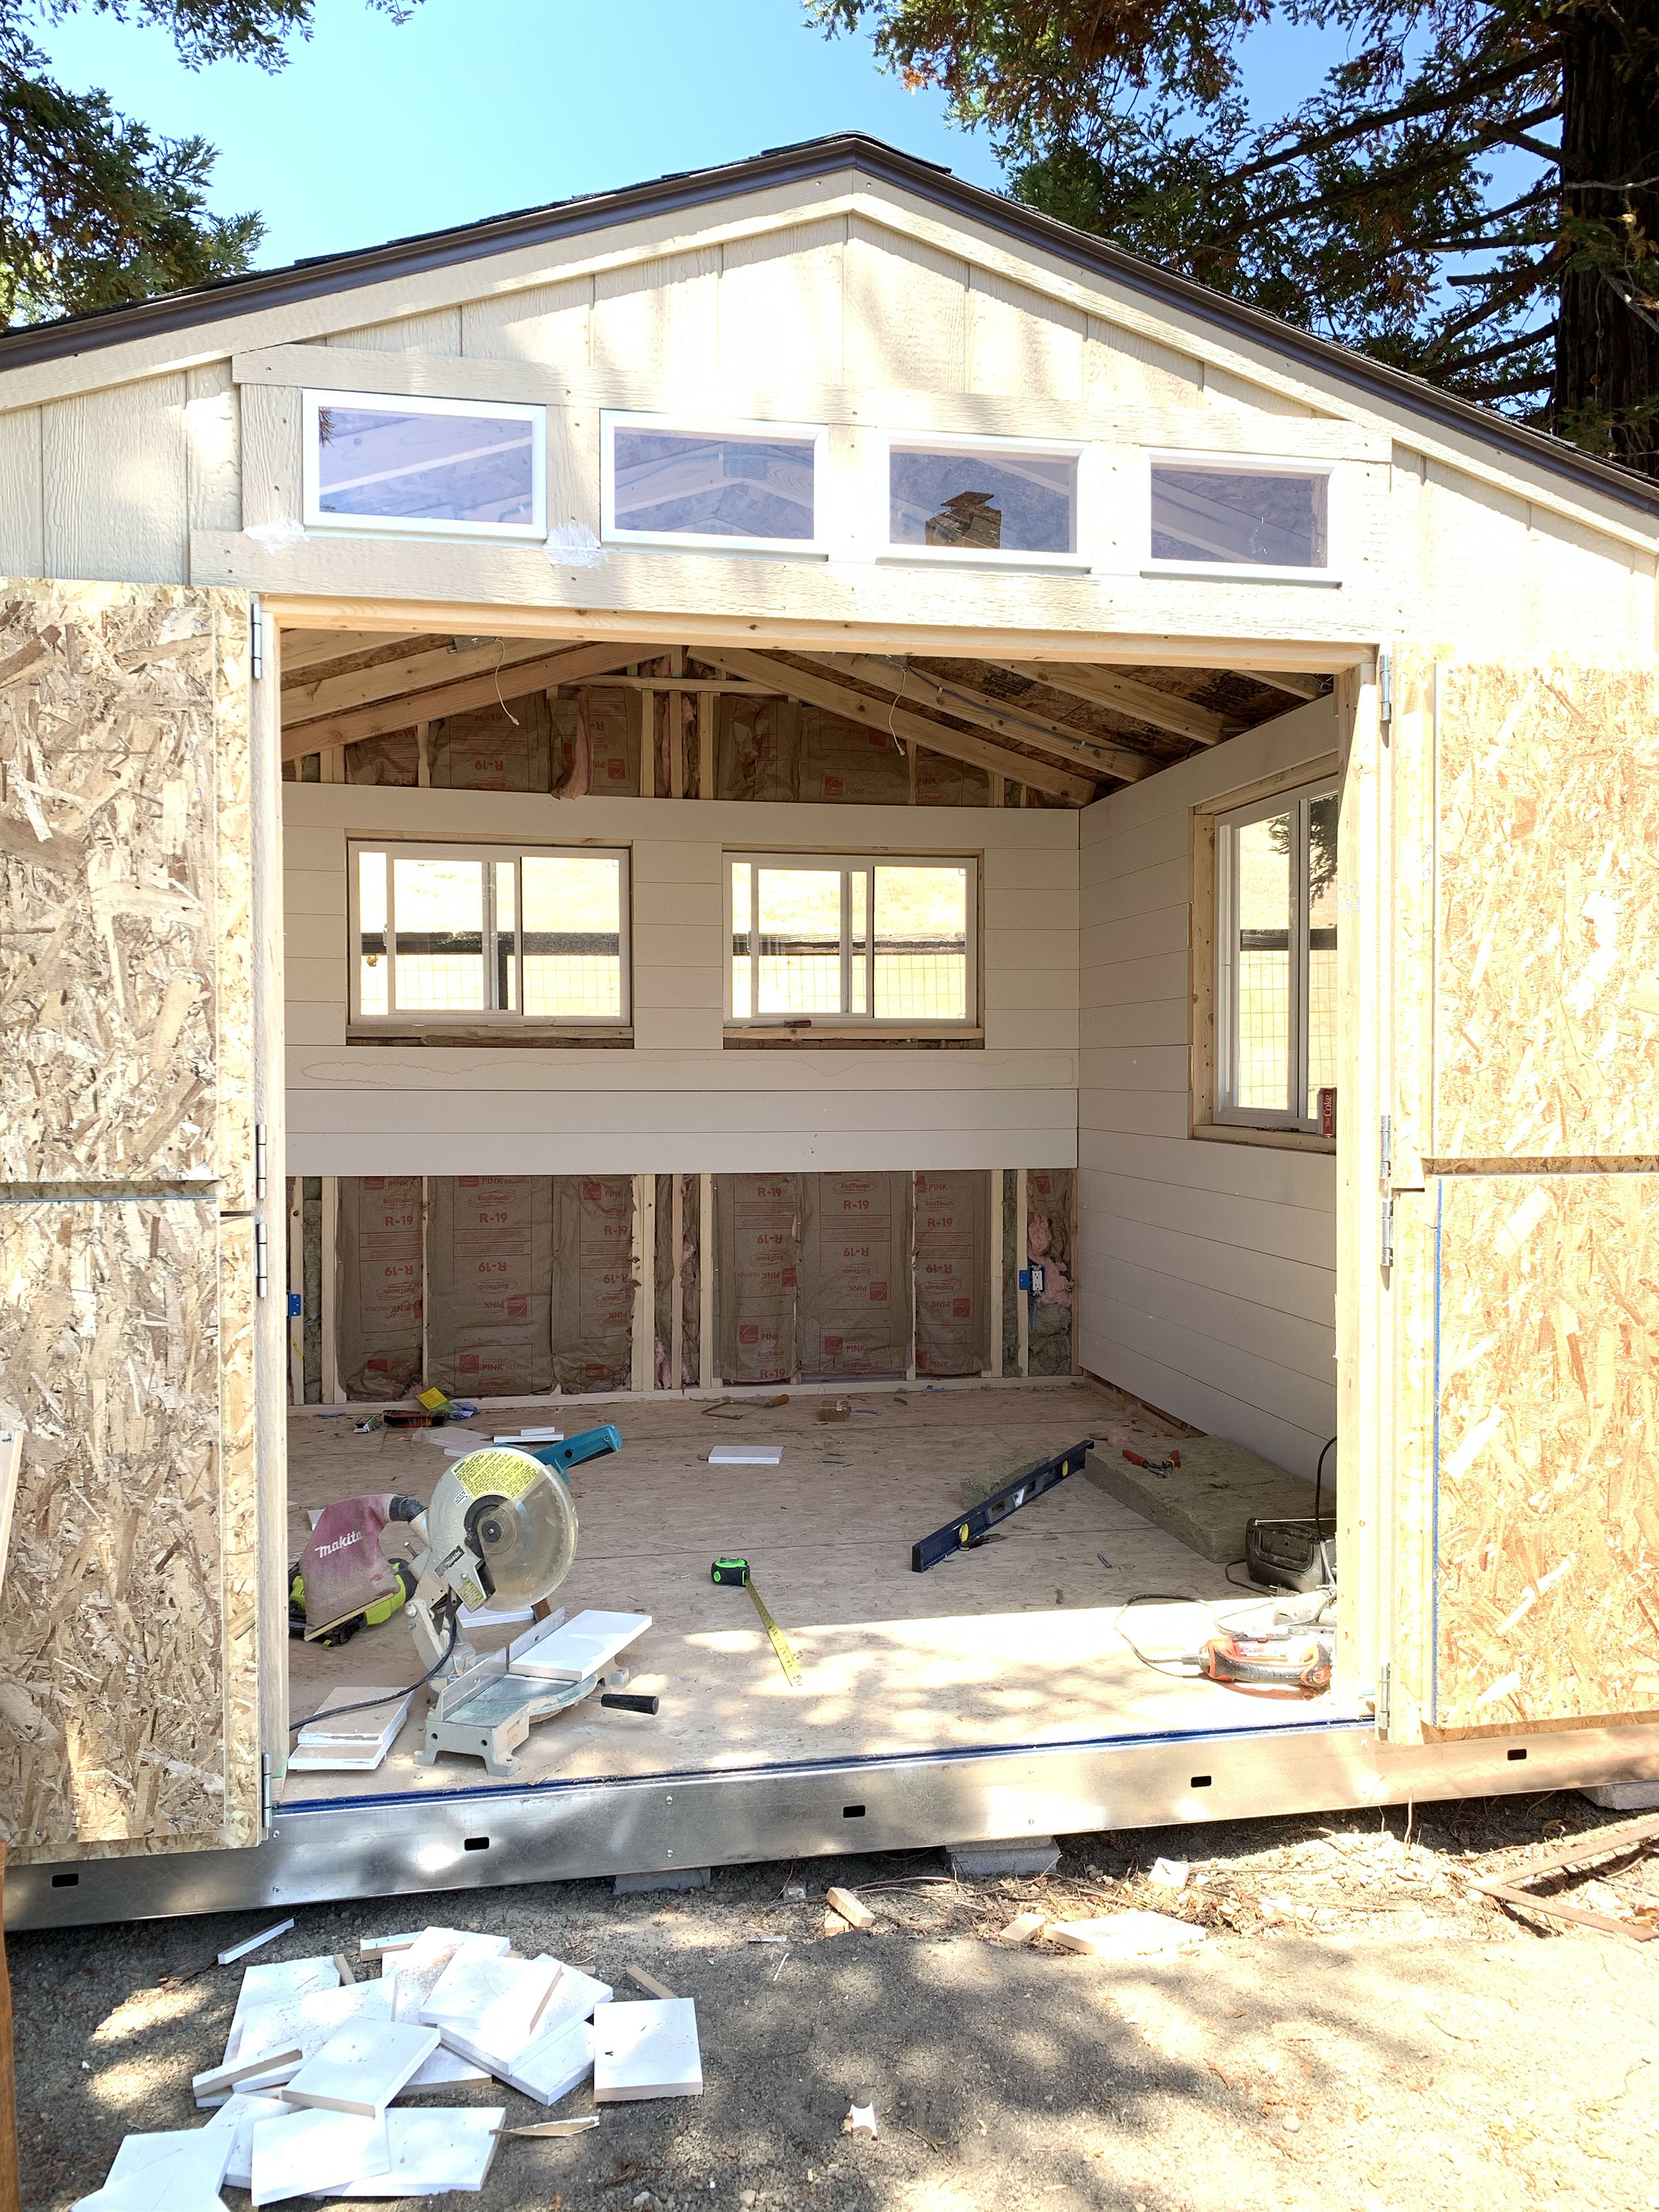
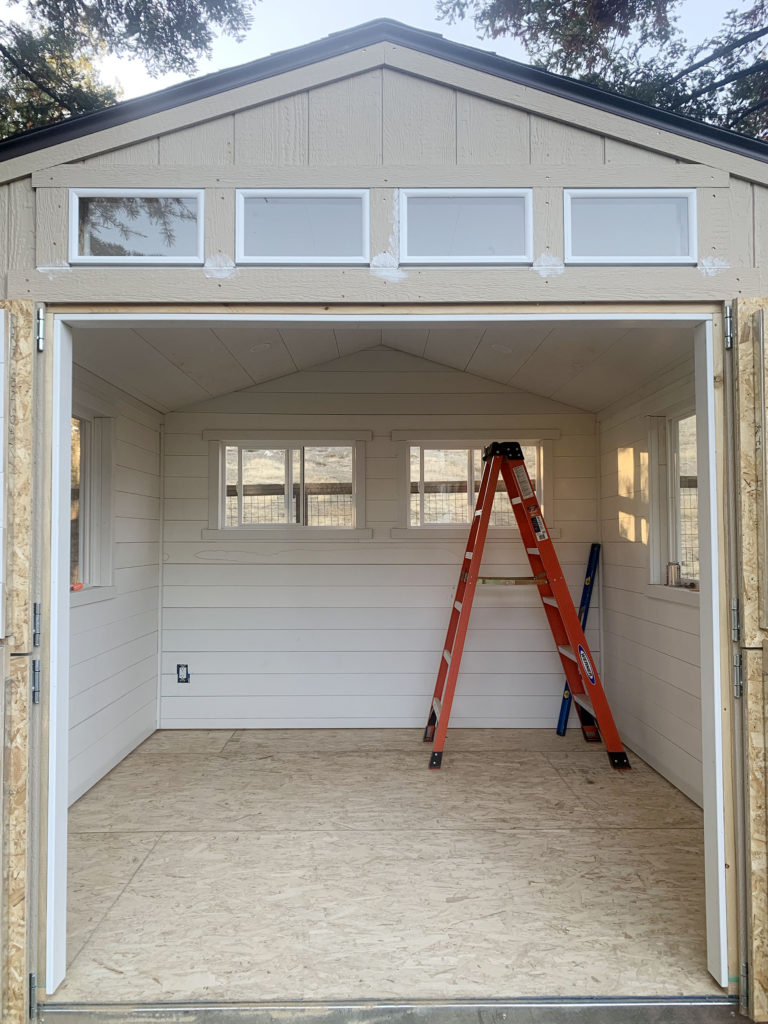
Next was flooring. I’d read quite a few reviews about what flooring held up in a Tuff Shed that sits on concrete blocks. Because we live in California, we were concerned about moisture since we have a lot of fog here in the Bay Area. Although the research I found was not at all conclusive, it sounded like a durable vinyl flooring was a safe bet. So we headed over to Home Depot and picked up 100 sq. ft. of this wood-look vinyl flooring. It turned out, it was the ideal flooring.
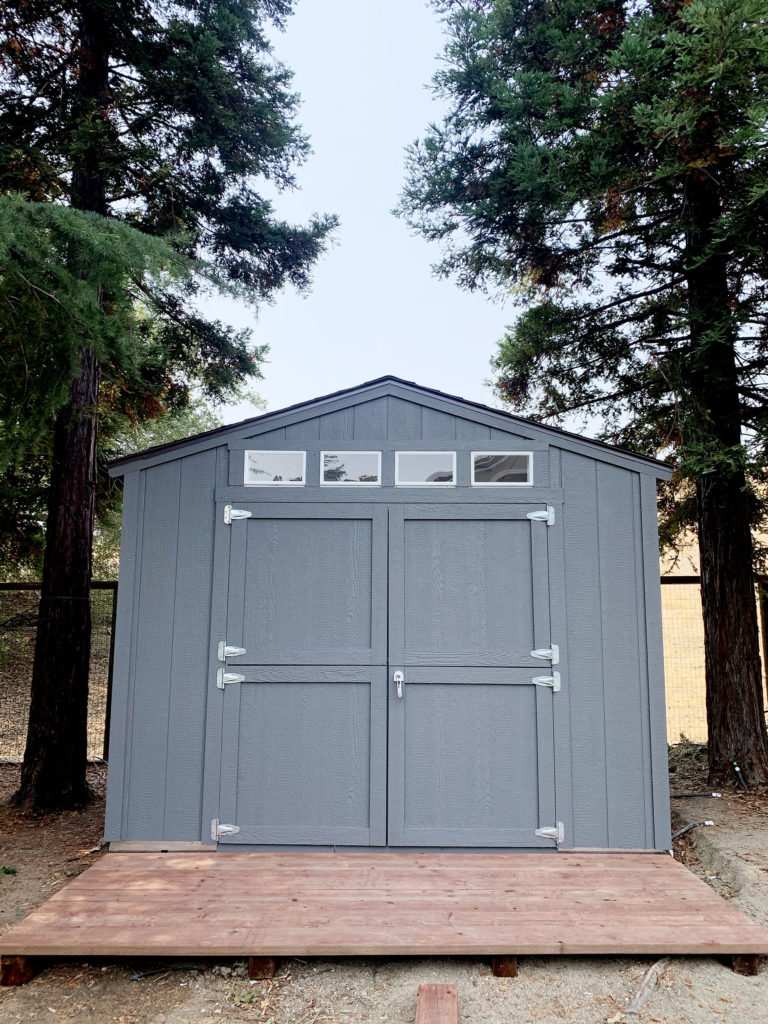
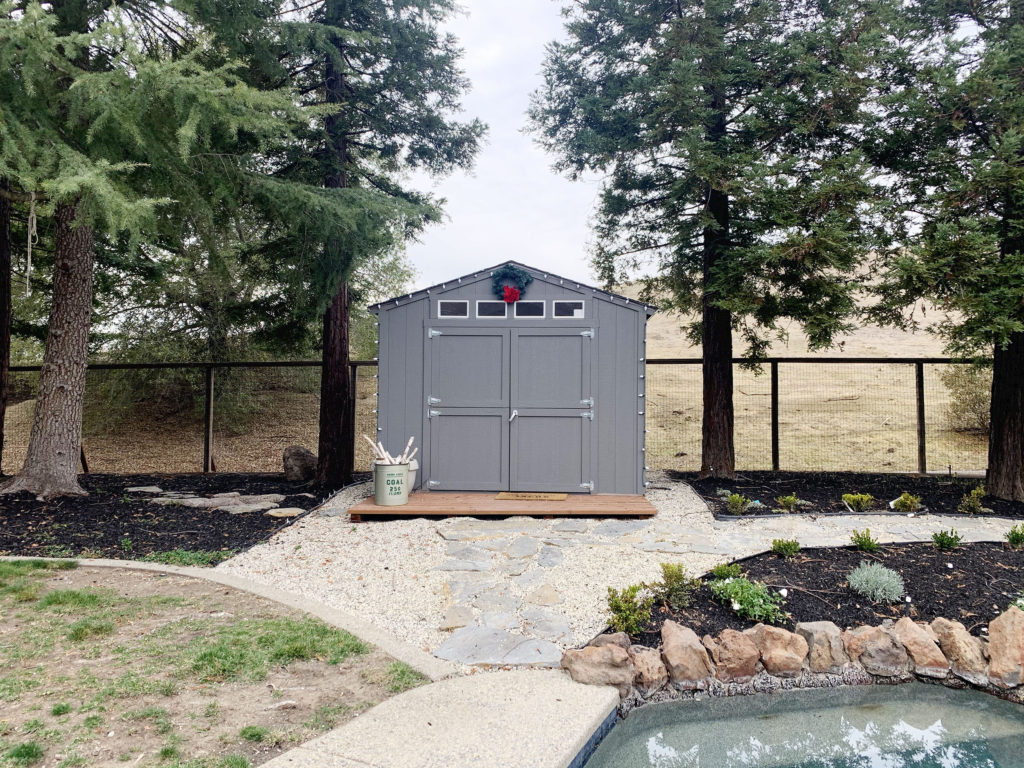
The shed also needed a deck. My husband built one fairly quickly with pressure treated lumber from Home Depot. It’s large enough for a door mat, a plant, and an occasional chair when the weather permits.
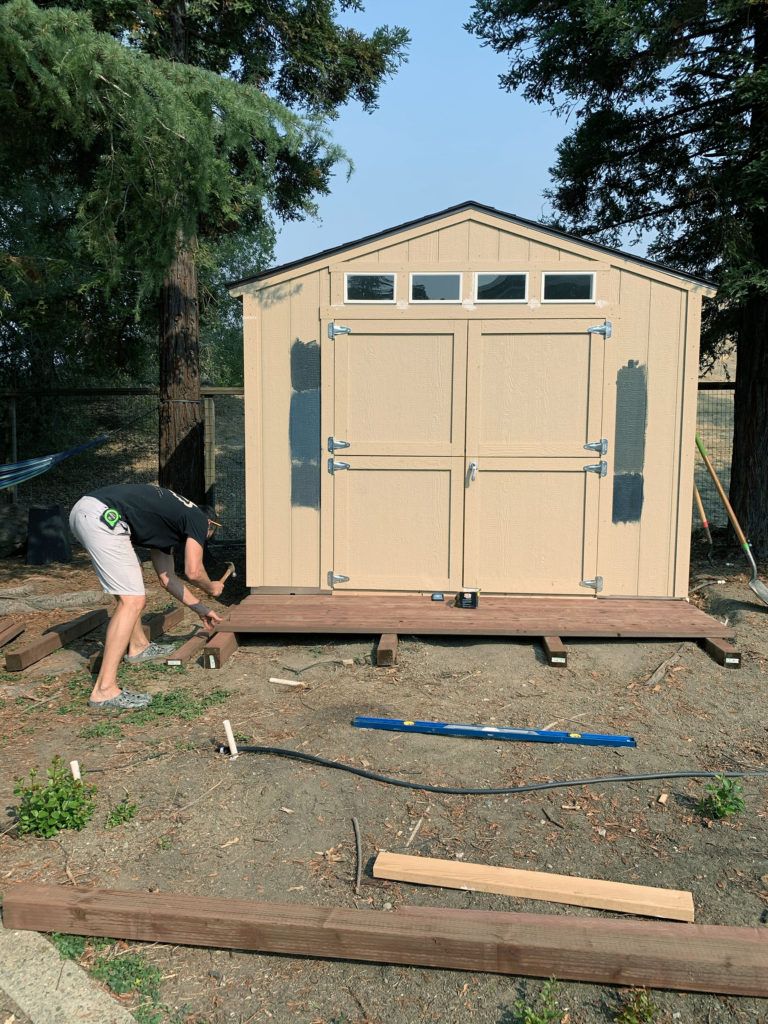
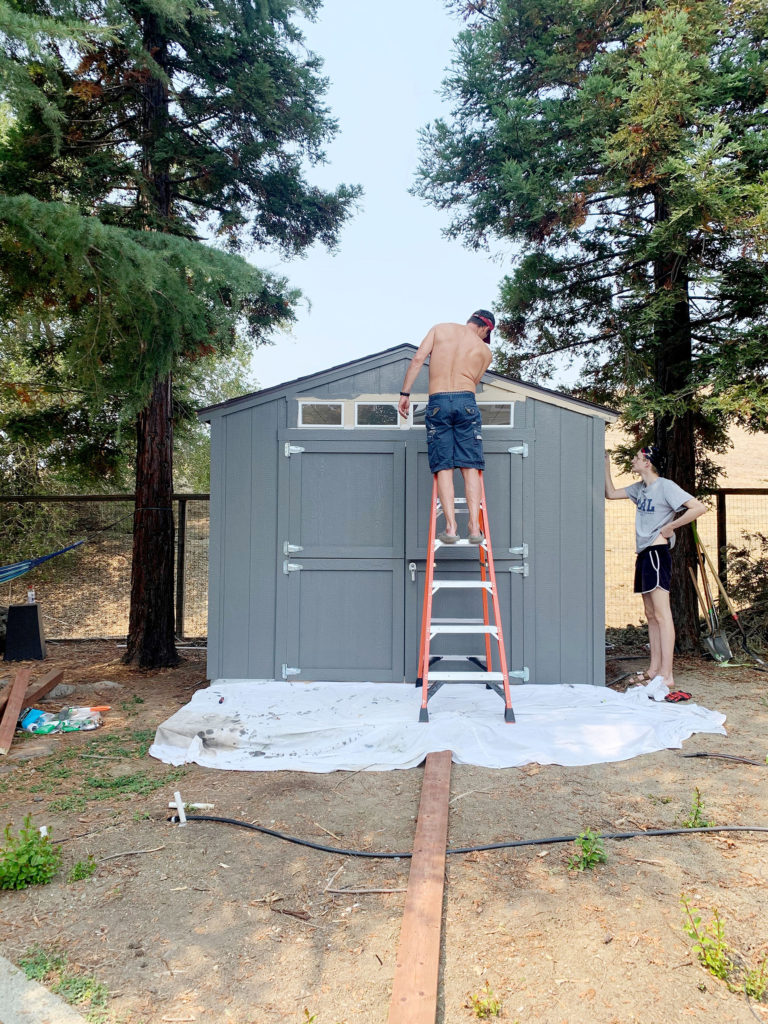
Painting the exterior was our final step before we furnished the interior. We went with Benjamin Moore’s Kendall Charcoal and as a result I’m super happy with the color. It blends well with our redwoods and the open space behind us. Luckily, our kids joined us for a painting party. The four of us each took a side and we were finished in just a few hours.
FURNISHING the SHED
Initially I wanted the shed to also work as a guest room but ultimately it isn’t big enough and isn’t plumbed for water. So instead of a pull-out sofa, we found a comfy yet shallow couch on Facebook Marketplace that fits the space well. It’s the perfect spot for taking a break from work or a for a quick chat with me during the workday. In addition, we added a chair and a cool desk that you can raise when you need to stretch your legs. A plant, some floating shelves, and rolling drawers also found a home in the shed.
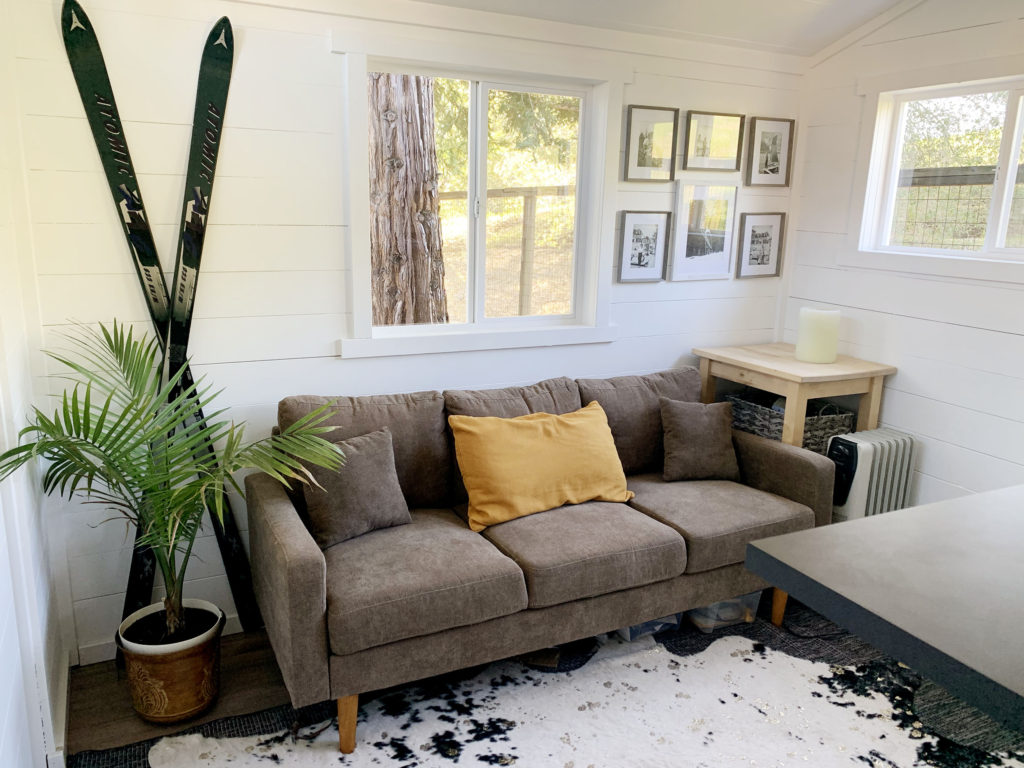
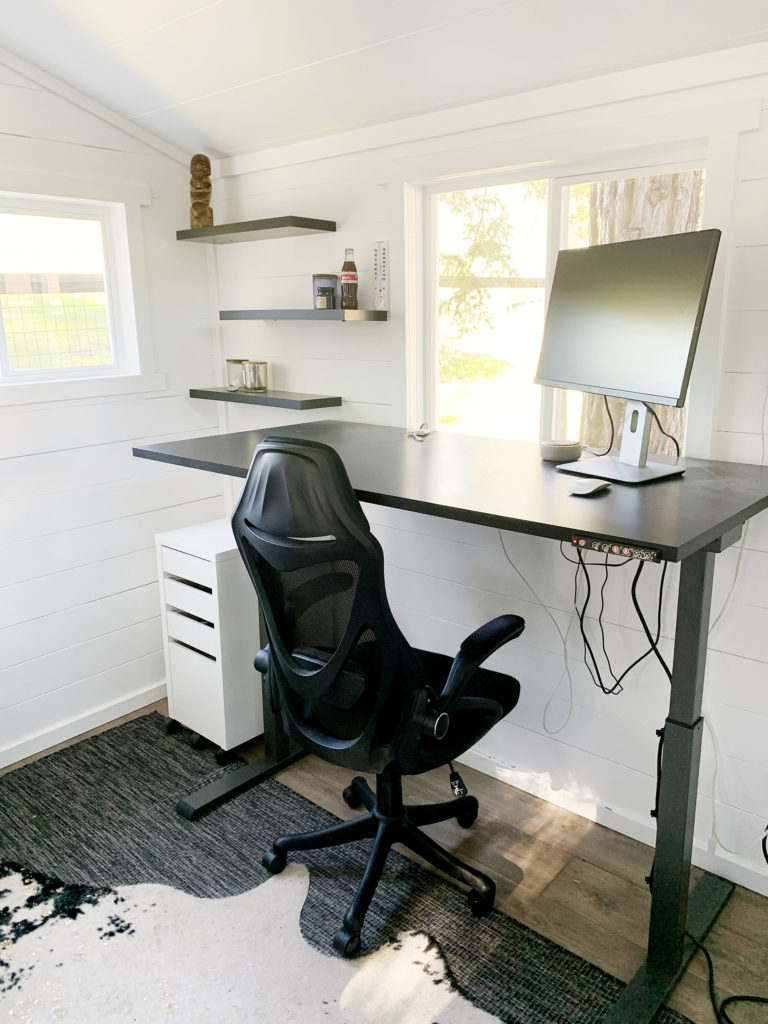
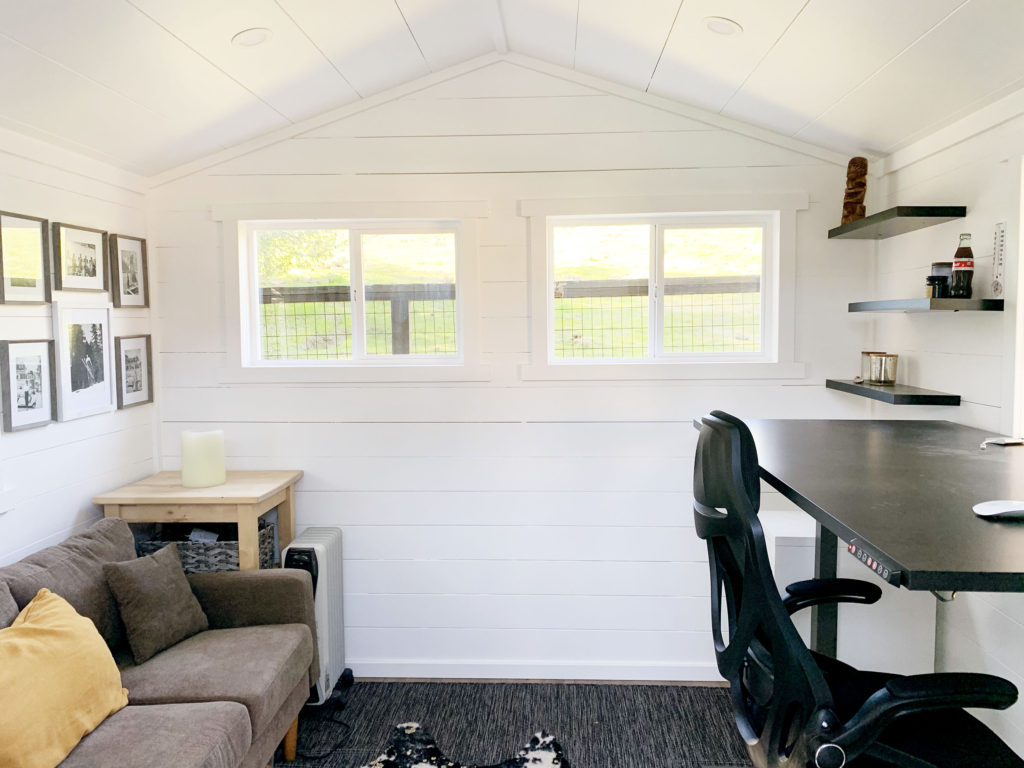
I found this rug and this rug to layer. I didn’t realize the cow hide included gold paint splatters. Luckily we aren’t tied to gender stereotypes around here so we’ve embraced the extra bling.
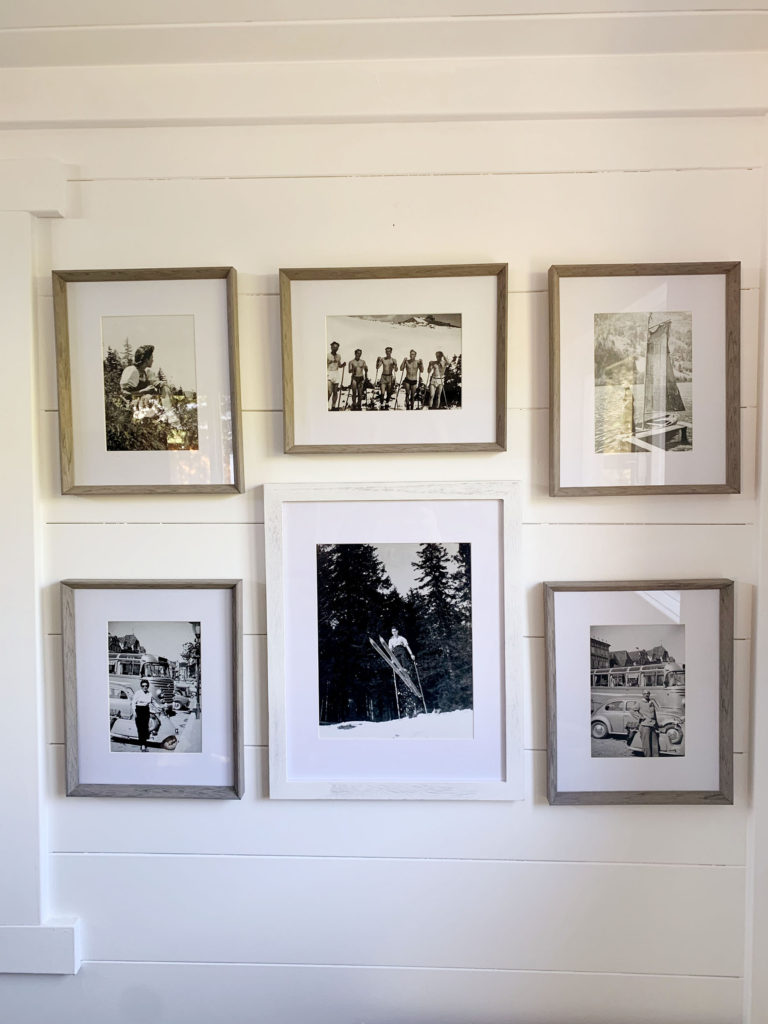
My husband is from Austria and has some fascinating family history involving both World Wars. His grandparents played a big part in his childhood and so he wanted to include them in photos on a gallery wall. As a result, I found some frames on Amazon that worked well with the overall aesthetic. In addition, an old pair of skiis flank the opposite wall. Just his style.
A Tuff Shed turned Home Office is Affordable
All in all here’s a rundown of the cost of this Tuff Shed turned home office project. I highly recommend!
Tuff Shed – $3,909
Roofing – $220
Paint – $110
Deck – $120
Shiplap – $400
Flooring – $300
Electrical – $120
rugs – $230
sofa – $150
desk – $230
chair – $230
frames – $25
plant – $15
Shelves – $70
TOTAL – $6,129
Leave any questions you have in the comments. If you’ve built a Tuff Shed, let me know. I’d love to see it!


Very nice I want one